How to Ripen Tomatoes on the Vine Indoors
By the middle of September, most UK growers are looking at the same thing: trusses heavy with fruit that will never see a warm afternoon again. Blight is creeping up the stems, the nights are drawing in, and the first frost is somewhere in the forecast. Cutting those plants early is not a failure. Handled properly, a lifted vine will keep ripening fruit long after the outdoor season has finished.
Why a cut vine keeps working
Tomatoes do not ripen on a calendar. The fruit carries on converting its own starches into sugars after picking, but a tomato still attached to the vine — even a vine that has been cut at the base and hung up — has a little more to draw on. The plant's remaining moisture and sugars move into the fruit, which is why tomatoes finished this way tend to taste fuller and have tighter skins than fruit snapped off green and left on a windowsill.
There is a practical benefit too. Whole trusses ripen more evenly than loose fruit, they bruise less, and one hook in a shed holds a dozen tomatoes at once. If you have a greenhouse full of green fruit and a frost coming, this is the least-effort way to save the lot.
Sort the fruit before you cut anything
Not every green tomato is worth hanging. You will get much better results if you divide what you have into three piles first.
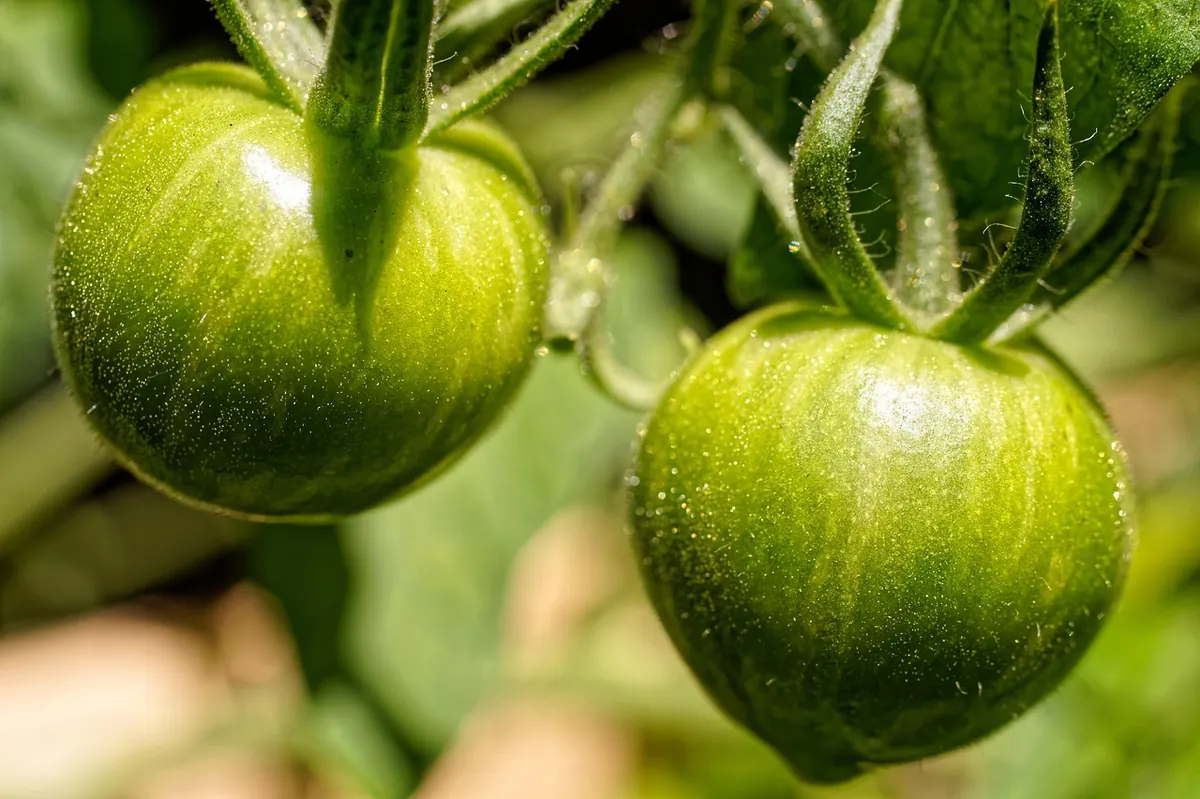
- Mature green. Full-sized, firm, with a glossy sheen and no pale star at the top. Cut one open: if the seeds sit in a jelly-like gel and the flesh is pale green to yellow-green, it will ripen. These are the ones worth hanging.
- Immature green. Noticeably smaller than the rest, dull-skinned, hard as a pebble. These usually wrinkle and rot rather than colour up. Send them to the kitchen for chutney, frying or roasting instead.
- Damaged fruit. Anything with brown blotches, splits, holes or soft patches. Blight spreads fast in a warm room, so remove these straight away and put them in the bin rather than the compost heap.
Lifting a whole plant, step by step
- Choose a dry day. Wet foliage going into a shed is an invitation to mould.
- Check for blight. Brown, greasy patches on leaves or stems mean the plant itself should go in the bin, not indoors. Clean, unblemished fruit from a blighted plant can still be used.
- Cut the stem at the base, a few centimetres above soil level. Leave the roots behind.
- Strip the lower leaves and any foliage that is yellowing. Leave the trusses and the upper leaves — they help the fruit finish.
- Hang it upside down in a shed, garage or cool porch. Tie the stem with string, or hook it over a nail or rafter. Fruit that hangs keeps its shape and is easy to check.
- Inspect every few days. Pick fruit as it colours, and remove anything that softens or shows mould.
No room for a whole plant? Use the trusses
Cut individual trusses with about 5cm of stem on either side and lay them in a single layer in a shallow cardboard box, on newspaper, or on a wire rack with a sheet of paper underneath. Do not stack them. A slatted tray in a spare room works better than a sealed plastic tub, which traps moisture and encourages rot.
Trusses ripening this way colour from the top down, so check them every day or two and lift out the ripe ones as they come.
Temperature, light and airflow
Temperature
Aim for roughly 18–21°C for steady ripening — a spare bedroom, a porch or a cool utility room. Below about 12°C ripening stops altogether and the fruit can turn mealy, which is the main reason tomatoes left in a cold garage never taste of much. Above 27°C they colour unevenly and soften far too quickly.
Light
Light is not needed for the colour change itself, so a dim shed is fine. A little daylight helps the flavour along, but a sunny windowsill can dry fruit out and cause splitting. Indirect light is the better compromise.
Airflow
Moving air is what keeps mould away. Leave a door or window ajar, space hanging plants apart, and never crowd a tray. If you spot grey fuzz on a stem, cut that section out immediately and check the rest.
The banana trick — useful, with a caveat
Ripe bananas and apples give off ethylene, the gas that triggers ripening, and a ripe banana tucked beside a tray of green tomatoes will genuinely speed things up. The caveat is that ethylene also hastens softening and rot, and a sealed bag traps the moisture that comes with it. If you use this trick, keep the tray ventilated and check it daily. Once the fruit has coloured, take the banana out.
What to expect, week by week
Green tomatoes hung at the end of September typically colour over three to six weeks, with the mature ones going first and the smaller fruit lagging behind. Expect a steady trickle rather than a glut, which is rather the point: fresh tomatoes in October and often into November, with no greenhouse to heat and nothing wasted.
Fruit that is still hard and pale by mid-November is unlikely to come round, and there is no shame in calling it. Green tomato chutney, a tray roasted slowly with garlic and oil, or a batch of fried green tomatoes will use them up honestly. Next year, sow a couple of early varieties alongside your main crop, and you may not have to lift a single vine at all.
Photo: experimentMR / Pixabay